Honeywell Thermostat Programming
Programming a Honeywell thermostat contributes significantly to energy efficiency and comfort management in homes and businesses. This section details the features of various models and explains the importance of proper programming.
Features and Types
Honeywell thermostats come in several types, each with distinct features suitable for diverse needs. The basic manual thermostats offer simplicity and ease of use, ideal for those who prefer direct, hands-on control. Programmable models, on the other hand, allow users to set custom heating and cooling schedules. These models typically feature weekly, 5-2 day, or 5-1-1 day programming options, enabling different settings for weekdays and weekends.
Why Proper Programming Matters
Proper programming of a Honeywell thermostat ensures optimal comfort and energy efficiency. Efficient programming reduces unnecessary heating and cooling, leading to lower utility bills. For example, setting the thermostat to lower the temperature automatically during the winter nights can conserve energy while maintaining comfort.
Setting Up Your Honeywell Thermostat
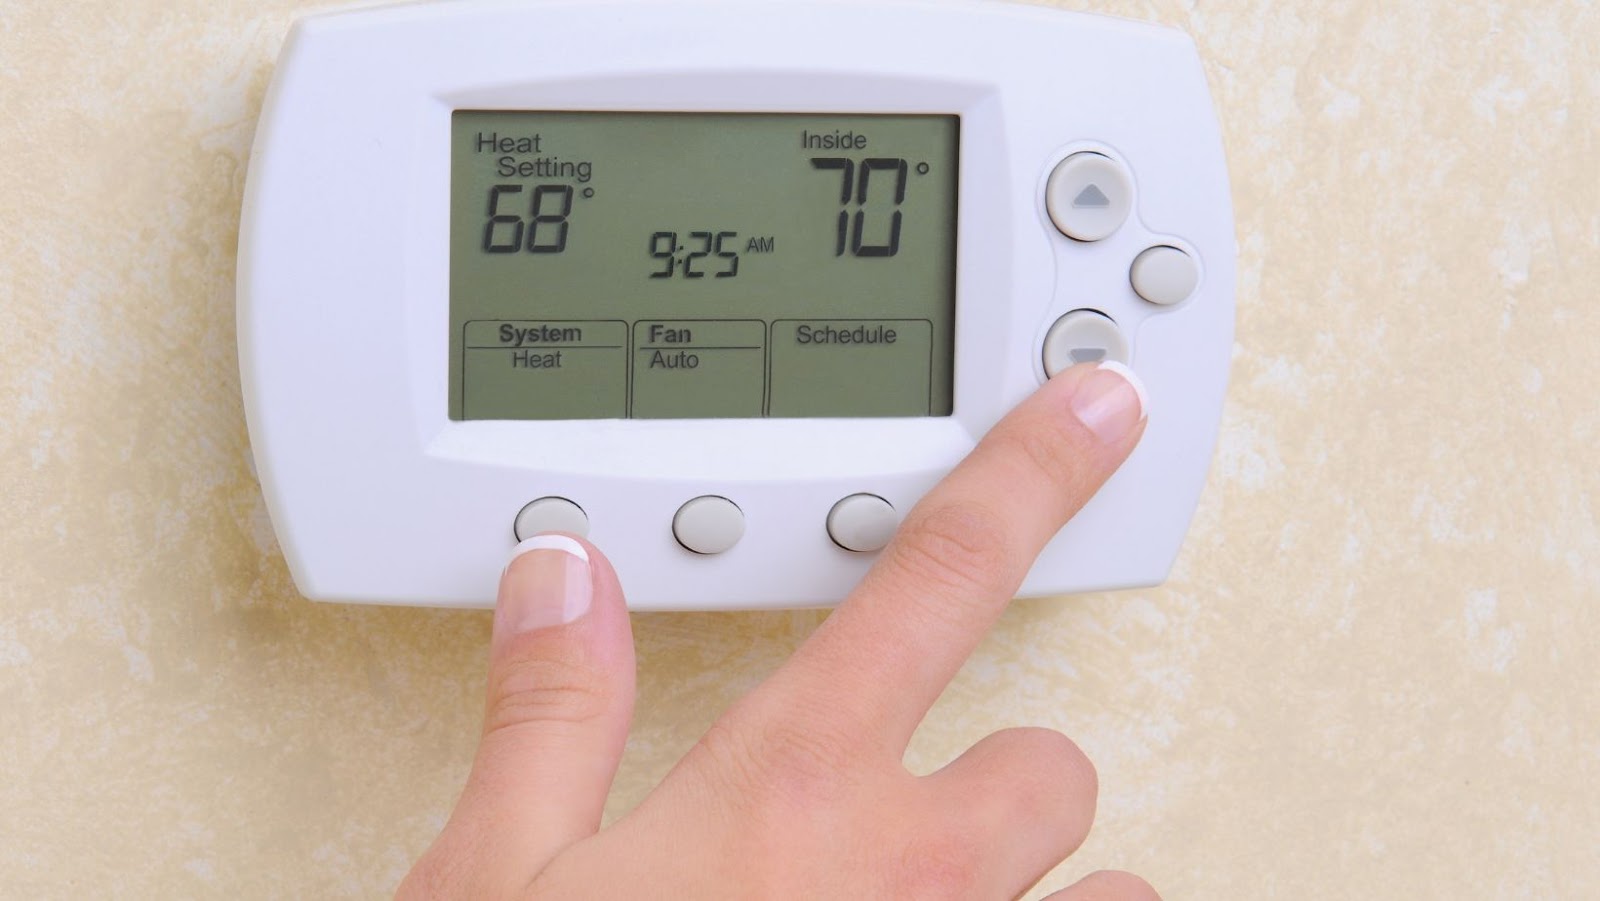
Installing the Hardware
Installing your Honeyweather thermostat is the first step in harnessing its features for energy efficiency and comfort. Begin by turning off power to your HVAC system to ensure safety during installation. Locate an appropriate spot on an interior wall, away from direct sunlight, draughty areas, doorways, windows, and furniture that might obstruct air flow. Secure the base of the thermostat to the wall using a drill and included mounting screws.
Initial Setup Process
Once the hardware is installed, the initial setup begins by programming the basic settings in your Honeywell thermostat. Start by setting the date and time, which is crucial for all scheduled operations. Proceed to configure heating and cooling schedules according to your daily routine to maximize energy savings and comfort. Many Honeywell models offer pre-programmed settings that can be adjusted to suit your needs. Explore options such as ‘Auto’ mode, which automatically switches between heating and cooling based on room temperature and set thresholds.
Step-by-Step Guide to Programming
Understanding the Main Menu
To start programming a Honeywell thermostat, users must familiarize themselves with the main menu. Access the menu by pressing the ‘Menu’ button on the device. Users see options such as ‘Preferences’, ‘Wi-Fi Setup’, and ‘Program’. Navigating through these options involves using the + and – buttons for scrolling.
Setting the Date and Time
Programming precision begins with setting the correct date and time. From the main menu, select ‘Preferences’, then ‘Date/Time’. Users can adjust these settings using the + and – buttons to ensure all programming actions align with the correct time frame.
Programming Heating and Cooling Schedules
Creating schedules for heating and cooling is vital for energy savings and maintaining comfort. From the main menu, choose ‘Program’. This section allows users to set different temperatures for specific times of the day.
Troubleshooting Common Issues
Incorrect Temperature Readings
If a Honeywell thermostat displays incorrect temperature readings, first check the placement of the device. Thermostats exposed to direct sunlight or drafts often report inaccurate temperatures. If the thermostat is well-placed, recalibrating the sensor or replacing the batteries might solve the problem. Dust and debris can also affect sensor accuracy, so cleaning the thermostat is recommended.
Unresponsive Touchscreen
Failure to Connect to Wi-Fi
For Honeywell thermostats with Wi-Fi features, a common issue is the inability to connect to the home network. Users should verify their network is active and that the signal strength is sufficient for a stable connection. Restarting the router and thermostat can re-establish connectivity.
Heating or Cooling Not Working
When the thermostat does not trigger the heating or cooling system, checking the settings is vital to ensure they are correct for the desired operation. Sometimes, incorrect programming leads to heating or cooling at unintended times. Verifying the HVAC system’s power source and checking for tripped circuit breakers can identify power issues.